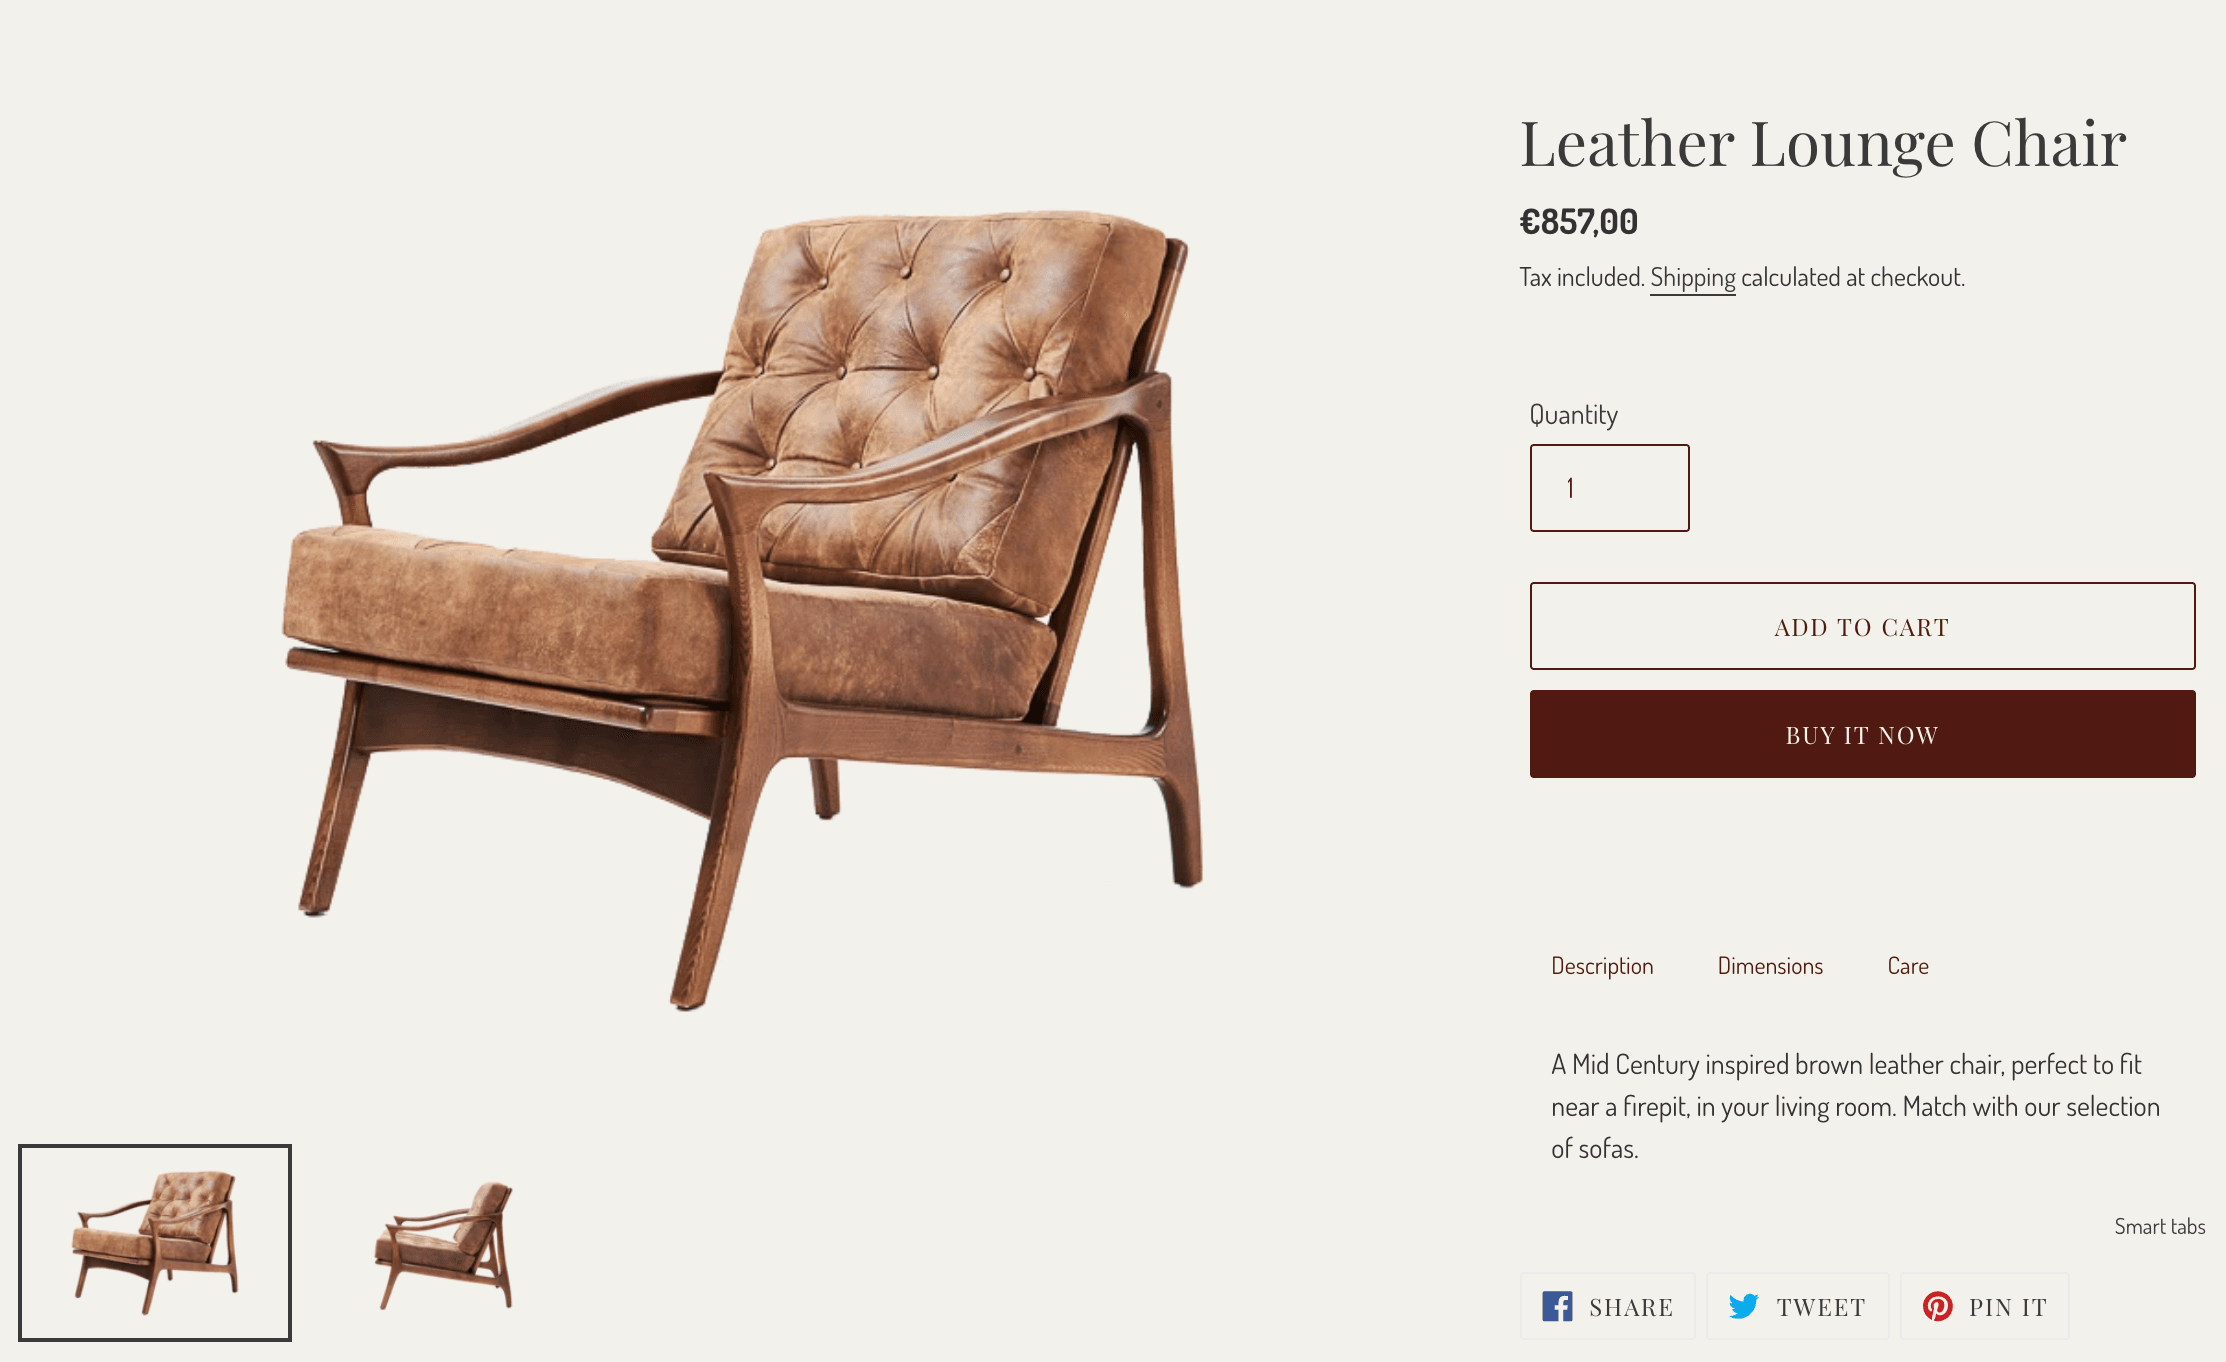
how to create a product on shopify
a detailed brief for beginners
first things first
prep. of the info before going to the platform:
-reunite all the product information on excel, separated in the right columns in the following order ( Title or product name; Description; Composition; Care; Other suitable information like Size & fitting or Shipping & returns)
-SKU
-Price
-Available sizes
The use of tags is very interesting not only for easy filtering (on customer perspective) but also for automation (on brands perspective). So I suggest the following:
For example for each product you can use multiple tags like:
1 tag with product category (tops, bottoms, coats etc)
1 tag with collection name
1 tag with season (SS / AW)
and so on.
Images.
should also be prep before. consider the following a checklist:
-all images should have the same sizing and the same position (portrait/landscape);
-consider product proportions or grant all images are coherent (for example the same product in different colors should have the same margin);
-rename all images with alt-text
-use some editorial images on product pages too.
putting it all on shopify’s product page
On shopify dashboard, right menu click:
Products > All products > Add product
Now let’s add the info we previously created in excel:
Title / product name
Description (no need to add this title because shopify generate it automatically)
Composition
Care
after add this content, select the titles and change them to heading 5 (fig. 1). this action will allow to divide all the text in tabs.
Images
-the following step is to upload all the product images.
-you have the possibility to change images order simply by drag and drop.
Price
you have price and compared price. you can put the same value on both. when you want to put this product on sale, just change the price box.
Insert SKU number
Variants
-check the variants box and insert sizes available separated by commas. ex: 1month, 3 months, 6 months…
you can use other variants like colors, materials, etc.
following this step, below you will see the product sizes you’ve just created with the possibility to edit quantities and prices for each one.
let’s scroll for the top of the page and focus on the right column of product page:
here you can choose where you want your product visible: like facebook shop, instagram, etc
then select the type of your product, at this point be specific like “t-shirt”, you can use it singular or plural but once decided keep it consistent.
-in supplier, you can leave it blank, put your brand name, or if you work with different brands.
-in collection, if you opt to do it manually you can select here (you just jave to create the collections before). Alternatively, using tags and creating collection with tag conditions you will have it automatically.
-on TAGS, copy from excel with all of them separated by commas.
To sum up, just save it and preview to see if is everything well done!
What do you think about it?!

